Access control
Access control in DevRev is a system that authorizes an actor to perform actions on different targets within the application. In this context, an actor is any entity that interacts with the app, such as an organization member, a customer, a system user, or a service account.
When an actor attempts to carry out an action, such as creating an issue, the access control system checks the actor's role to determine if the actor has the necessary privileges to perform the desired action.
Each role consists of two essential parts: caveats and privileges. Caveats represent specific conditions that must be met for the role to be applicable. Privileges outline the actions or operations that the actor is granted when those caveats are satisfied. If at least one role provides the necessary privilege, for example, the CREATE privilege, the actor is granted permission to proceed with the action, allowing them to create the issue.
The process of checking access is as follows:

-
Fetch all the user's groups.
-
Fetch roles associated with the particular target from the user groups, which in this case would be the "Issue".
Caveats represent specific conditions that must be met for the role to be applicable, while privileges outline the actions or operations that the actor is granted when those caveats are satisfied. Each role consists of two essential parts: caveats and privileges.
-
The system evaluates the caveats of all the roles associated with the target. If at least one role provides the necessary privilege, say "CREATE" privilege, the actor is granted permission to proceed with the action, allowing them to create the issue.
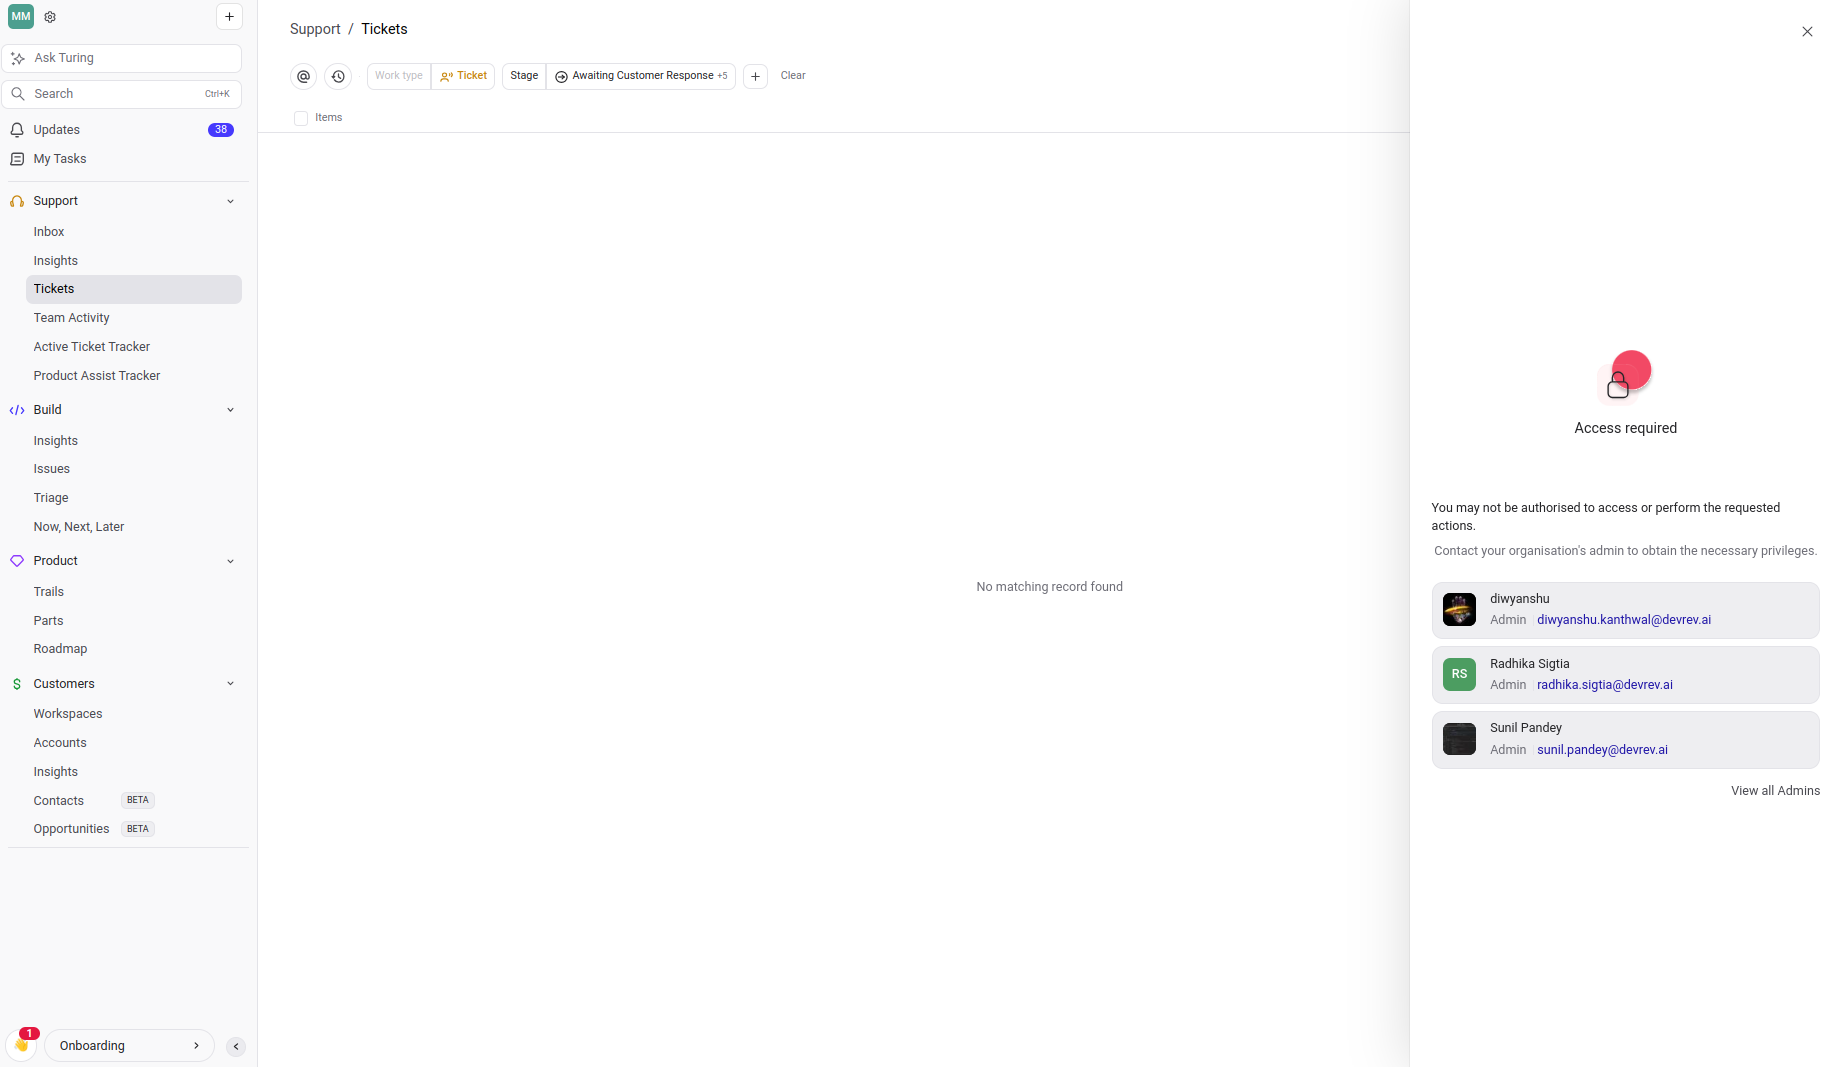
If a user attempts an action they're not authorized to perform, they see a message which says "You are not authorized to perform this action". Relevant buttons may be inactive. Users can contact the organization's admins to enable access in that case.
Vista reports
Two objects power vista reports: dashboards and datasets. Dashboards represent the view, while datasets represent the actual underlying data. A user must, at a minimum, have access permissions to dashboards in order to perform any meaningful operations on vista reports. Below is a list of possible operations:
-
Read: View a dashboard or report. Dashboard read permissions are required for a user to view a dashboard or report.
-
Create: Build a dashboard or report. A user must have dashboard create permissions and dataset read permissions to create a dashboard or report.
-
Update: Modify an existing dashboard or report. A user must have dashboard update permissions and dataset read permissions to modify a dashboard or report.
-
Share: Allows a user to share an existing dashboard or report with other users. A user must have dashboard update permissions to share a dashboard or report.
Granting access permissions
Users are granted access permissions to dashboards or reports through MFZ policies and sharing.
MFZ policies
Use of MFZ policies facilitates the need to grant access to a wider group of users.
A dev org admin has permission to define and enable roles, in whatever combination, that will give user groups permission to perform various operations on dashboards/reports. Out of the box, the following roles are enabled for the predefined user groups:
-
Admins

-
Platform users

By default, platform users have the following permissions:
- Create dashboards or reports.
- Read, update, and delete their own dashboards or reports.
- Create datasets.
- Read, update, and delete their own datasets.
Platform users do not, by default, have permission to read any datasets besides their own. Admins are responsible for granting read permissions to all or a subset of datasets, which platform users can then utilize in building dashboards or reports.
Sharing
The share functionality allows dashboard or report editors to grant read or update permissions to other users.
-
Select Share from the actions drop-down.
-
Search for the desired user, assign them a role (Editor or Viewer), then click Share.